Use these instructions to configure your OneLogin account with WhosOffice for single sign on.
If you require any assistance with this setup please contact support@whosoffice.com
Pre-requisites
- You will need an administrator account to access the OneLogin administration area
- You need to have an existing account with WhosOffice
- You will need an Administrator role on WhosOffice to complete these steps
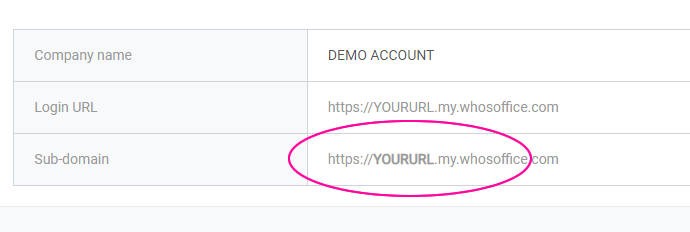
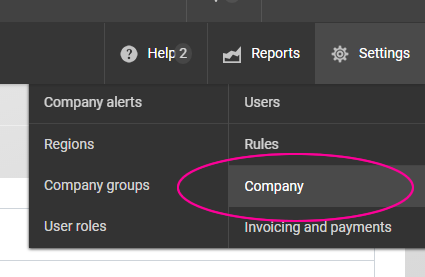
1. Identify your sub-domain from WhosOffice
- Login to your WhosOffice account
- From the Settings menu, go to Company
- Make a note of your sub-domain from this page, it will be in bold as shown below.
2. Add WhosOffice to your OneLogin account
- Login to your OneLogin account
- Ensure you are in the Administration area
- From the Applications menu, click on Applications
- On the right-hand side, click on the Add App button
- Search for and click on "whosoffice" in the application directory
- Under the configuration area, leave the Display Name
- You can upload a logo and icon (save the images below for convenience) to identify WhosOffice to your users


- Click on the Save button, top right
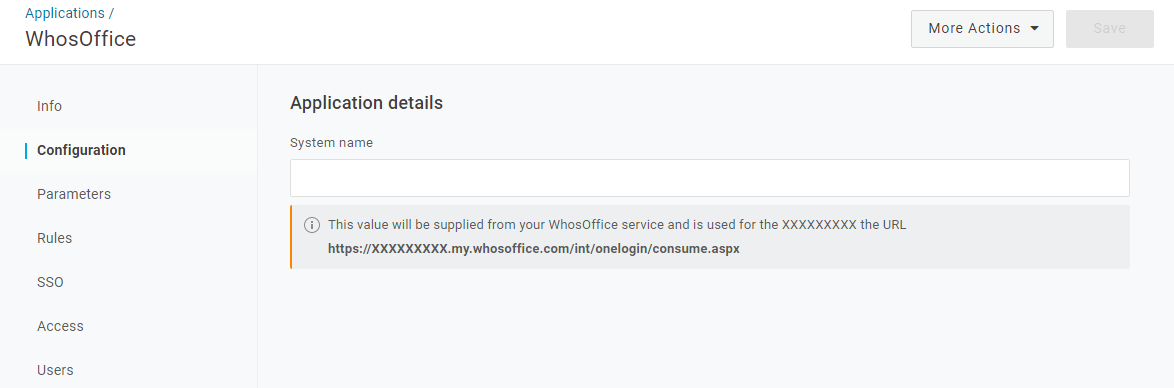
3. Configure your WhosOffice connector
- Once the connector has been added to your account, you will then need to complete the configuration
- Click on the Configuration link on the left-hand side
- You will need to supply the "System name" value, which is the sub-domain on your WhosOffice account, see Step 1.
- Click Save
4. Download your metadata file
- From the "More Actions" menu, click on "SAML Metadata"
This will download the metadata file to your computer, which you will then need to upload to WhosOffice on the next step so make sure you know where this file is downloaded to.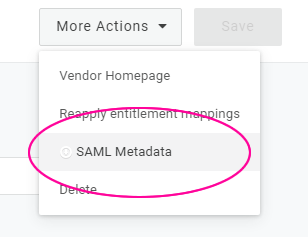
5. Configure your WhosOffice account
- Login to your WhosOffice account
- From the settings menu, go to Company
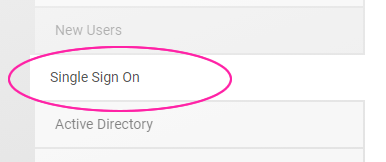
- Click on the "Single Sign On" tab
- Select "OneLogin" from the provider drop down and click on "Activate Login Provider"
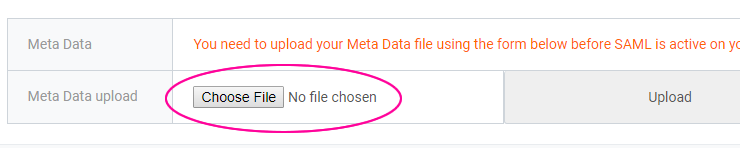
- Using the form, browse to the SAML metadata file you downloaded in Step 4, click on Upload
- Click on Save Changes
Note: If you would like to force users to Authenticate through OneLogin (for online logins only), make sure "Force SAML" is selected as "Yes" then click on "Save Changes".
6. Enable WhosOffice SAML connector
For details on how to specify which users are able to use the WhosOffice connector from your OneLogin account, refer to the support section within OneLogin.
7. Verify that SSO is working
- Ensure that you are logged out of your WhosOffice account
- Navigate to https://{sub-domain}.my.whosoffice.com
Remember to replace {sub-domain} with your company's dedicated sub-domain from Step 1. - If you have chosen to "Force SAML" you will be automatically redirected to the OneLogin sign-in page
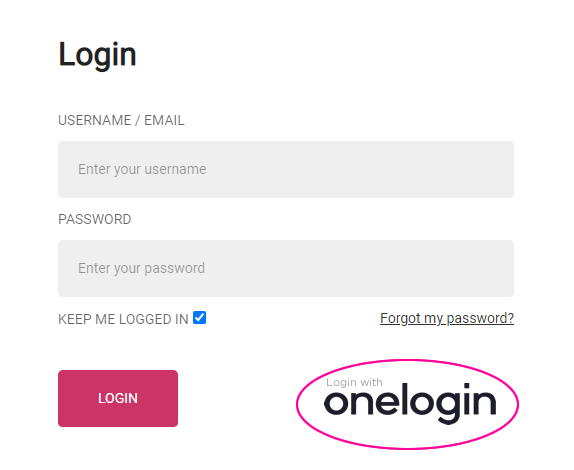
- If you have chosen NOT to "Force SAML" you will see the WhosOffice login screen with an option to login through OneLogin
- After you have authenticated your login with OneLogin you will be redirected to your WhosOffice account
Title
OneLogin - SAML Integration
OneLogin - SAML Integration
Category
Integrations
Integrations
Posted
Wednesday, 29th Jan 2020
Wednesday, 29th Jan 2020
By
Tony Bushell
Tony Bushell